Wooden floors bring unparalleled warmth and elegance to our living spaces, but they are often vulnerable to moisture. A leaky floor can be prone to warping, mold, and other problems. However, with the right methods and products, it is possible to make a floor waterproof and extend its lifespan. In this article, we’ll explore different techniques for waterproofing a floor, with a focus on protecting against moisture and leaks. Let’s find out together how to ensure the longevity and beauty of your wooden floors.
Table of content
Understanding the causes of humidity
The first step to making a wooden floor waterproof is to understand the potential causes of moisture. Water infiltration can come from leaks, ambient humidity or even the ground beneath the floor. Identifying the source is essential to choosing the best waterproofing method.
Here are a few steps you can take to determine the causes of floor moisture:
- Check for water leaks: Check for water leaks from pipes, faucets, appliances or the ceiling. Leaks can often be the cause of damp floors.
- Inspect the walls: Water infiltration through the walls can also cause moisture problems in the floor. Look for damp spots, mold or signs of drainage along the walls.
- Check windows and doors: Poorly sealed windows or doors can allow water to enter. Make sure the gaskets are in good condition and replace them if necessary.
- Evaluate ventilation: Poor ventilation can contribute to moisture buildup. Make sure rooms are properly ventilated, especially in areas prone to humidity like the bathroom and kitchen.
- Control relative humidity: Use a hygrometer to measure the relative humidity in the room. Excessive humidity can cause floor moisture problems.
- Examine the basement: If the floor is at basement level, examine this area carefully. Water infiltration through the ground can directly affect the wooden floor.
- Consider outdoor conditions: Outdoor conditions such as heavy rain, melting snow or water runoff can also contribute to floor moisture. Make sure gutters are functioning properly and water is properly directed away from the house.
- Look for visual signs: Visual signs such as damp stains, mold, swelling or warping of the wood may indicate moisture problems.
- Consult a professional: If you cannot identify the cause of the damp or if the problem persists despite your efforts, it may be wise to call a professional. A waterproofing expert or building inspector can provide a thorough assessment and appropriate recommendations. You can find a building inspector by consulting the website of the Association of Building Inspectors of Quebec.
By combining these methods, you should be able to identify the underlying causes of moisture in your floor. Once you have determined the source of the problem, you can take specific steps to remedy the situation and prevent future moisture problems.
Floor preparation
Proper floor preparation is crucial. Make sure the floor is clean, dry and free of any residue. Repair any cracks or chips, as even small imperfections can allow water to penetrate. Don’t forget to check the condition of the joints between the boards.
Choice of sealants
There are a variety of waterproofing products on the market, ranging from specialty varnishes to sealants to waterproof membranes. The choice of product depends on the type of wood, the location of the floor and the level of waterproofing required. Some products also offer UV protection, ideal for floors exposed to direct sunlight.
Here are some of the products commonly used to seal wood floors:
- Floor varnishes: Varnishes specially designed for wooden floors provide excellent protection against moisture, wear and scratches. They can be transparent or stained, preserving the natural color of the wood while adding a protective layer.
- Oils and waxes: Oils and waxes penetrate the wood to protect it while maintaining a natural finish. Hard oils, like tung oil, provide long-lasting protection and are suitable for high-quality wooden floors.
- Wood Sealant: Wood sealers create a protective barrier against moisture while maintaining the natural appearance of wood. Some sealers are specifically formulated for wood floors and provide protection against water and stains.
- Water-Based Varnishes: Water-based varnishes are environmentally friendly and emit fewer volatile organic compounds (VOCs) than solvent-based varnishes. They offer excellent protection and are suitable for interior floors.
- Waterproofing Membranes: Waterproofing membranes are often used in areas subject to significant exposure to water, such as bathrooms. They form an impermeable barrier between the floor and humidity.
- Water-Based Maintenance Products: Certain maintenance products, such as water-based floor conditioners, can help maintain floor protection over time. They are often used to refresh the finish of wood.
- Combination Products: Some products on the market combine the benefits of varnish, oil and sealant to provide complete protection. These all-in-one products can simplify the application process.
When choosing a sealant, be sure to consider the traffic level in the area, environmental conditions, and follow the manufacturer’s recommendations. Before application, it is always recommended to properly prepare the wooden floor by cleaning it and making any necessary repairs. Always test the product on a small, inconspicuous area to ensure it gives the desired result on your specific type of wood.
Application of sealants
Correct application of sealants is just as important as product selection. Follow the manufacturer’s instructions and be sure to apply an even coat. Use appropriate tools such as brushes, rollers or sprayers to ensure complete coverage.
Applying sealants to wood floors requires a careful approach to ensure long-lasting results. Here are some common mistakes to avoid when applying sealants to wood floors:
- Failing to prepare the floor properly: One of the most common mistakes is neglecting floor preparation. Be sure to clean the floor thoroughly, repair any cracks, chips or imperfections, and ensure that it is completely dry before applying the sealant.
- Skipping the sanding step: Sanding is crucial to ensuring a smooth, even surface. Neglecting this step can lead to uneven application of the sealant and compromise its effectiveness.
- Wrong choice of product: Choosing a sealant that isn’t suited to the type of wood, floor location or moisture level can lead to unsatisfactory results. Make sure you select the right product for your floor’s specific needs.
- Applying too thickly: Applying too thick a coat of sealant can lead to uneven drying, bubbles, cracks and an unattractive appearance. Always follow the manufacturer’s recommendations for layer thickness.
- Insufficient application : Conversely, insufficient application of sealant can compromise floor protection. Be sure to follow the manufacturer’s instructions in terms of recommended number of coats.
- Failure to respect drying times: Failure to respect drying times between coats can lead to problems such as footprints, marks or poor adhesion. Be patient and allow sufficient time for the sealant to dry between coats.
- Working in unsuitable conditions: Avoid applying sealants in wet weather or extreme temperatures. Weather conditions can affect the drying process and the quality of the final result.
- Neglect regular maintenance: Once the floor has been sealed, don’t neglect regular maintenance. Monitor wear, reapply sealant as necessary and clean up spills promptly to avoid permanent damage.
By avoiding these common mistakes and carefully following the manufacturer’s instructions, you’ll maximize the chances of obtaining a watertight, durable and aesthetically pleasing wood floor.
Regular maintenance
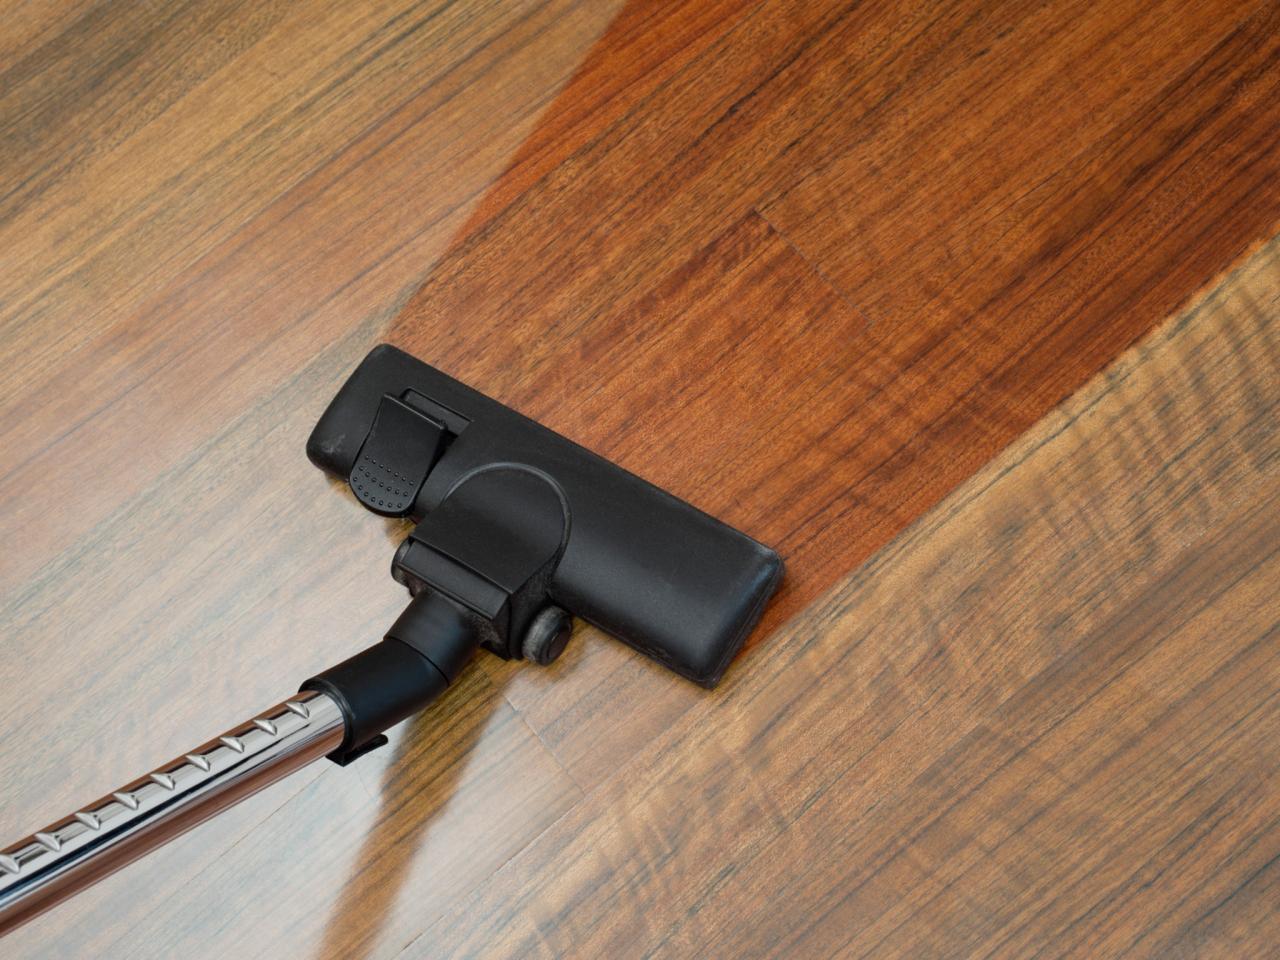
Even with a sealed floor, regular maintenance is essential. Watch for deterioration, reapply sealants if necessary, and be sure to clean up spills promptly. Regular maintenance will extend the life of your floor.
Consult an expert to help you carry out the work
In conclusion, waterproofing a wood floor is a crucial step in ensuring its longevity and beauty. By understanding the causes of moisture, preparing the floor properly, choosing the right products and carrying out regular maintenance, you can effectively protect your wood floors. Invest in the durability of your living space by taking steps to prevent moisture damage.
Be sure to take the necessary steps to make your wood floors waterproof and durable. For a personalized quote and expert advice, contact us today. We’re here to help you protect and beautify your living spaces.
Would you like a price for waterproofing your wood floors? Request a free quote.
For more information on hardwood flooring, see the following articles:
Dust-free wood floor finish, what are the benefits?
3 different types of hardwood floors for your home
What kind of hardwood floors to choose?
Simple 6-step method for sanding hardwood floors
Simple 3-step price estimate for hardwood floor sanding
Frequently asked questions
-
Can I seal my wood floor myself?
Yes, with the right products and instructions, waterproofing a wood floor can be a do-it-yourself project.
-
How long does it take to waterproof a wood floor?
The duration depends on the type of sealant used and wear conditions. Some products can last several years.
-
Does waterproofing change the appearance of wood flooring?
Some products may alter the appearance slightly, but most are designed to preserve the natural color and texture of the wood.



0 Comments