Floor sanding in Saint-Sauveur is an essential service for preserving and restoring the natural beauty of your wood surfaces. Hardwood floors, while aesthetically pleasing and durable, are subject to natural wear and tear over time: scratches, scuffs, stains and loss of shine. These imperfections can quickly deteriorate the overall appearance of your interior. Proper sanding can revive the wood’s lustre and extend its life.
There are two main approaches to floor restoration: regular sandblasting and dust-free sanding. Each method has its own characteristics and meets distinct needs, whether for in-depth renovations or projects requiring fast, clean execution. By choosing the right method and calling in qualified experts, you benefit not only from impeccable results, but also from peace of mind.
This comprehensive guide will introduce you in detail to the sanding services available in Saint-Sauveur, compare regular sanding with dust-free sanding, and explain the precautions you need to take to get the job done right. By following good practices and choosing the right method for your needs, you’ll achieve a long-lasting, aesthetically pleasing floor.
Table of Contents
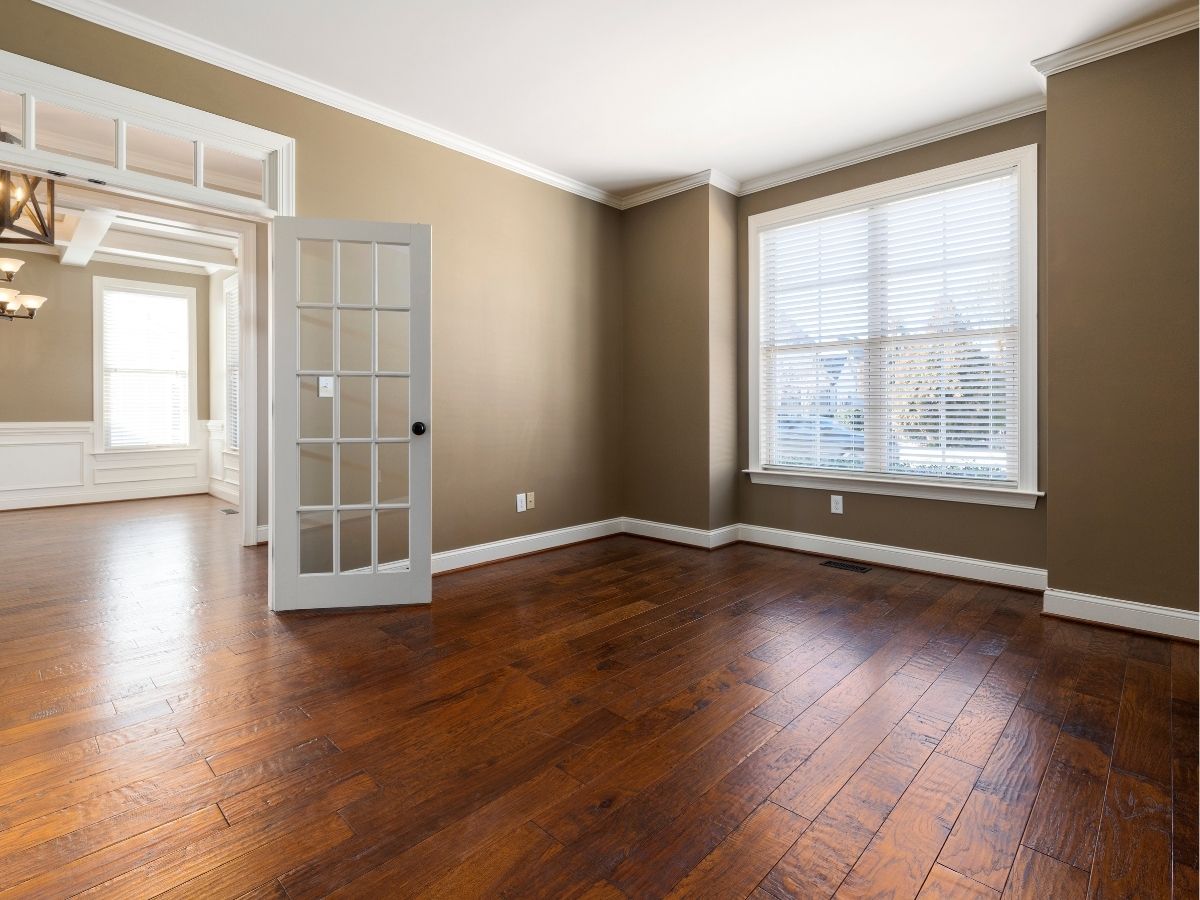
Floor sanding services in Saint-Sauveur
Floor sanding is a process that removes worn varnish layers and smoothes the wood for a new finish. Several services are available to meet the specific needs of each project:
- Regular sanding: Traditional method, ideal for damaged or badly worn floors.
- Dust-free sanding: A modern technique that minimizes dust, suitable for renovations in inhabited areas.
- Floor repair: Replacement of damaged boards before sanding.
- Floor finishing: Application of varnish or oil to protect and beautify wood.
Regular floor sanding: Traditional method
Regular sanding is the classic method of floor restoration. It uses drum sanders and abrasive discs to remove existing layers of finish, eliminate imperfections and smooth the raw wood.
Regular sanding steps
- Preparation: Moving furniture and protecting walls.
- Initial sanding: Use coarse abrasive paper to remove old varnish layers.
- Intermediate and final sanding: Refining with finer grains to smooth the surface.
- Cleaning: Removal of dust and wood residues.
- Finish application: Varnish, oil or wax, according to customer preference.
Advantages and disadvantages of regular sandblasting
Regular sanding is the traditional method for restoring wood floors. Although less sophisticated than dust-free sanding, this technique remains a popular option, especially for floors requiring complete restoration. Here’s a detailed overview of the advantages and disadvantages of regular sanding, to help you assess whether this method is best suited to your needs.
Benefits
- Effective for heavily damaged or worn floors
Regular sanding is particularly recommended for heavily damaged or worn surfaces. Floors with deep cracks, major scratches or several layers of varnish accumulated over the years often require intensive sanding. This method removes all imperfections and leaves a uniform surface ready for a new finish. - Less expensive than dust-free sanding
One of the main advantages of regular sanding is its lower cost. Because of the simpler equipment and traditional techniques used, the price of this method is often lower than dust-free sanding. If you have a limited budget or are working on a large surface, regular sanding can be an economical solution. - Adaptability to different types of wood
Regular sanding can be used on a wide variety of floors, from hardwoods like oak and maple to softer woods like pine. This flexibility makes it particularly popular for renovation projects on older homes with worn floors. - Uniform results
Conventional sandblasting machines are designed to provide deep smoothing. Once the finish has been applied, the result is generally very uniform, allowing the floor to look as good as new.
Disadvantages
- Generates large quantities of dust
The main disadvantage of regular sanding is the large quantities of dust it produces. During the process, particles of wood and finish are thrown into the air, which can make cleaning a tedious task. This dust can also spread to other rooms in the house, requiring protection of furniture and walls. - Requires rigorous clean-up after work
Due to the dust generated, a thorough clean-up is essential after regular sanding. Residents must often plan to leave the premises temporarily for the duration of the work, especially if family members suffer from allergies or respiratory problems. - Impact on the immediate environment
Traditional sandblasting can be disruptive to the immediate environment, particularly in terms of machine noise and the dust that can infiltrate the ambient air. To minimize the impact, it’s advisable to ventilate spaces well and plan work when the house is unoccupied. - Requires expertise
Regular sanding requires a good command of the machines to avoid mistakes, such as additional indentations or scratches. Incorrect handling of tools can result in irreparable damage to the floor, making it all the more essential to call in experienced professionals.
Dust-free sanding: innovation and cleanliness
Dust-free sanding is a more modern method that incorporates machines with vacuum systems. This technology allows dust to be captured as the work progresses, reducing nuisance for residents.
Dust-free sanding steps
- Preparation: As for regular sandblasting, with particular attention to protecting surrounding areas.
- Sanding: Use sanding machines equipped with integrated dust extraction systems.
- Light cleaning: Since most of the dust is captured, final cleaning is reduced.
- Finishing: Choice of several types of varnish or oil.
Advantages and disadvantages of dust-free sanding
Dust-free sanding is a modern method that has gained in popularity in recent years, particularly for renovation work in residential environments. Unlike traditional sanding, this approach uses machines equipped with integrated vacuum systems, enabling the majority of wood particles to be captured in real time. This makes the process cleaner and more comfortable for residents. However, this technique also has certain limitations that it’s essential to be aware of before making your choice. Here’s a detailed look at the pros and cons of dust-free sanding.
Benefits
- Significantly reduces dust and cleaning
One of the greatest advantages of this method is the drastic reduction in dust produced. Dust-free sanding machines are equipped with a suction system that captures almost 99% of wood particles at source. This not only minimizes the dispersion of particles in the air, but also reduces the need for thorough cleaning after work. - Less disruptive for residents
Since the process is cleaner, dust-free sanding is ideal for occupied residences. Residents don’t need to leave the premises temporarily, making the method convenient, especially for families or people with tight schedules. What’s more, this approach is particularly advantageous if anyone in the home suffers from allergies or respiratory problems, as the air remains much healthier. - Preserves indoor air quality
By capturing wood particles as they fall, this method helps maintain optimum indoor air quality. This is particularly important when working in closed environments or in winter, when room ventilation may be limited. - Overall time savings
Although the method itself is more meticulous, the time saved on cleaning more than makes up for it. With dust-free sanding, it’s possible to finalize the project more quickly and put the part back into use without any significant delay after the work has been completed.
Disadvantages
- Slightly higher cost
Dust-free sanding involves the use of more sophisticated equipment and advanced vacuum technology, resulting in a higher overall cost than regular sanding. Depending on the surface area and condition of the floor, this method may require an additional investment of 10-20% over traditional sanding. However, for many homeowners, this cost is justified by the comfort and cleanliness provided by this technique. - Less suitable for severely damaged floors
Although highly effective for light to moderate maintenance and renovation work, dust-free sanding is less suitable for floors that are severely damaged or deeply worn. In these situations, in-depth sanding with traditional machines may be necessary to remove all imperfections and restore the wood surface to its optimum condition. - Requires specific expertise
Handling dust-free sanding equipment requires specialized training. Technicians need to know how to calibrate machines correctly to ensure that the vacuum operates at full capacity without compromising sanding quality. Finding competent professionals using this technology can sometimes be a challenge. - Less effective on surfaces with several coats of varnish
If your floor has been covered with many coats of varnish or finish over the years, dust-free sanding may not be sufficient to completely remove these thick layers. More aggressive sanding with traditional machines may be necessary to reach the raw wood.
Comparison: Regular sanding vs. dust-free sanding
| Criteria | Regular sandblasting | Dustless Sanding |
|---|---|---|
| Dust generation | High | Very low |
| Cost | Cheaper | Slightly more expensive |
| Adaptability | Suitable for severely damaged floors | Ideal for light renovations |
| Cleaning time | Long | Short |
| Impact on residents | May require vacating the premises | Allows you to stay put |

Precautions to take before and after floor sanding work
To achieve optimum results and avoid complications, it’s essential to take certain precautions before, during and after sanding or buffing your floors. These steps ensure a smoother process, minimize inconvenience and maximize the durability of the work performed. Here’s a complete list of precautions to consider.
Before the work
- Moving furniture and fragile objects
Before starting, it’s crucial to completely clear the area to be sandblasted. Move all furniture, carpets and decorative objects to avoid damage or dust. It may be useful to store your furniture in another room, or to rent a temporary space if you’re working in several rooms. - Protect adjacent areas
Even with dust-free sanding systems, it is advisable to protect adjacent areas with plastic sheeting, curtains or tape. This prevents dust from entering other rooms or covering sensitive objects such as electronics or textiles. Don’t forget to cover air vents, too, to prevent particles from circulating in the air. - Choose the right finish in advance
It’s important to discuss the type of finish you want for your floor with the professional in advance. The most common options include varnish, oil or wax, each offering specific properties in terms of durability and aesthetics. The decision should take into account your personal preferences, the use of the room and the desired frequency of maintenance. - Plan the work at the right time
Make sure you plan the work at the most appropriate time. Sandblasting can make certain areas inaccessible for several hours or even days, depending on the drying time of the finish. If possible, choose a time when the house is less busy, or plan to stay outside during the work. - Communicate logistical details
Make sure you communicate logistical details with the service provider. Inform them of access conditions (stairs, parking) and discuss the work schedule to avoid any misunderstandings.
During construction
Although the professional takes care of most of the work, it’s a good idea to keep an eye on things to make sure everything goes according to plan. If you’re on site:
- Make sure the room is well ventilated to remove any odours from finishing products.
- If possible, check that the equipment used is in good condition, especially when dust-free sanding. A poorly calibrated machine can affect the quality of the work.
After the work
Watch for signs of wear
Even after professional sanding or buffing, it’s normal for the floor to show signs of wear over time. It’s advisable to regularly monitor the condition of the finish and touch up if necessary to prevent small scratches from becoming bigger problems for your floor, but also to choose a reliable company offering impeccable service and warranties tailored to your needs.
Light cleaning
Even after dust-free sanding, light cleaning is recommended. Use a damp cloth or soft mop to remove any residual fine dust film. If you have opted for regular sanding, a more thorough cleaning will probably be necessary to rid adjacent surfaces and the air of dust.
Respect the drying time of the finish
It is essential to allow the finish to dry completely before walking on the floor or putting furniture back in place. Drying times vary according to the type of product used (varnish, oil) and ambient conditions. In general, we recommend waiting between 24 and 72 hours for optimal drying. During this period, avoid opening windows to prevent dust from settling on the freshly treated floor.
Replace furniture with care
Once the drying time has been respected, replace furniture with care to avoid scratching or damaging the new finish. It may be useful to use protective pads under heavy furniture to prevent marking.
Avoid excessive exposure to water
The first few weeks after sanding are crucial for the finish to adhere properly. It is important to limit the floor’s exposure to moisture and to clean up any water spills immediately. Use of a dry or slightly damp cloth is recommended to prevent the wood from swelling.
Regular maintenance for longer life
To prolong the life of your new finish, regular maintenance is recommended. Use care products specific to the type of finish applied, and avoid abrasive cleaners that could dull the surface. Periodic maintenance, such as the application of a wax or a protective product, will help maintain the floor’s shine over the long term.
Taking the right precautions before and after sandblasting or floor sanding work is essential to guarantee professional, long-lasting results. Particular care in preparation and after-care will enable you to enjoy your renovated surfaces to the full, while prolonging their lifespan.

Find a qualified professional for your floor sanding project in Saint-Sauveur
Floor sanding in Saint-Sauveur is an essential step in maintaining the beauty and durability of your wood surfaces. Whether you opt for regular sanding or dust-free sanding, each method offers unique advantages. With the right precautions, and by choosing the right technique for your needs, you’ll achieve professional, long-lasting results.
Need to restore your floors in Saint-Sauveur? Get a free quote today for a sanding service tailored to your needs, and enjoy floors like new! Request a free quote.
For more information on hardwood flooring, see the following articles:
Montreal South Shore: Floor sanding experts available in over 20 cities
Dust-free wood floor finish, what are the benefits?
Simple 6-step method for sanding hardwood floors
Simple 3-step price estimate for hardwood floor sanding
Frequently asked questions
-
What type of finish is recommended?
The choice depends on your preferences:
Water-based varnish: Dries quickly and provides an environmentally-friendly finish.
Oil-based varnish: Resistant but requires more drying time. -
Can I stay in my home during the work?
With dust-free sanding, it’s possible to stay put, but regular sanding may require a temporary departure because of the dust.
-
How long does a sandblasting project take?
Floor sanding can take from 1 to 3 days, depending on the size and complexity of the project.





0 Comments